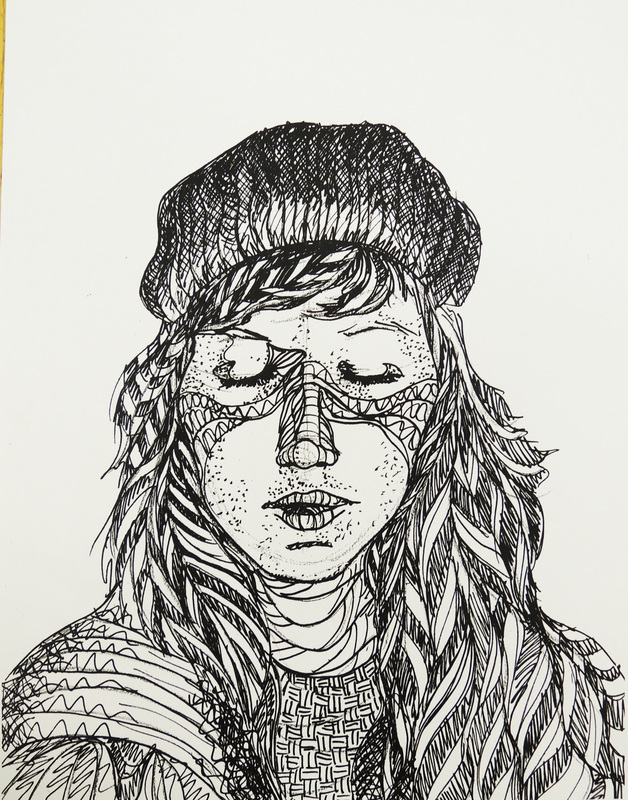
Students were asked to complete a final drawing reflecting all the techniques they learned in this unit. Students had a choice as to the subject of the drawing, but they had to include the full range of values using ink and line techniques.
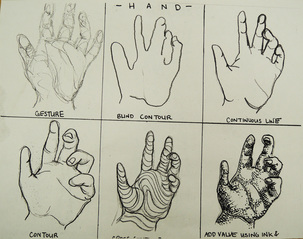
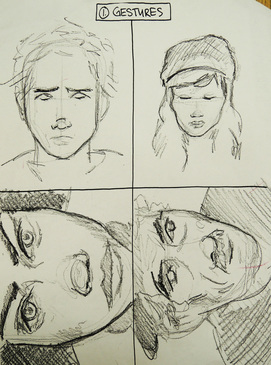
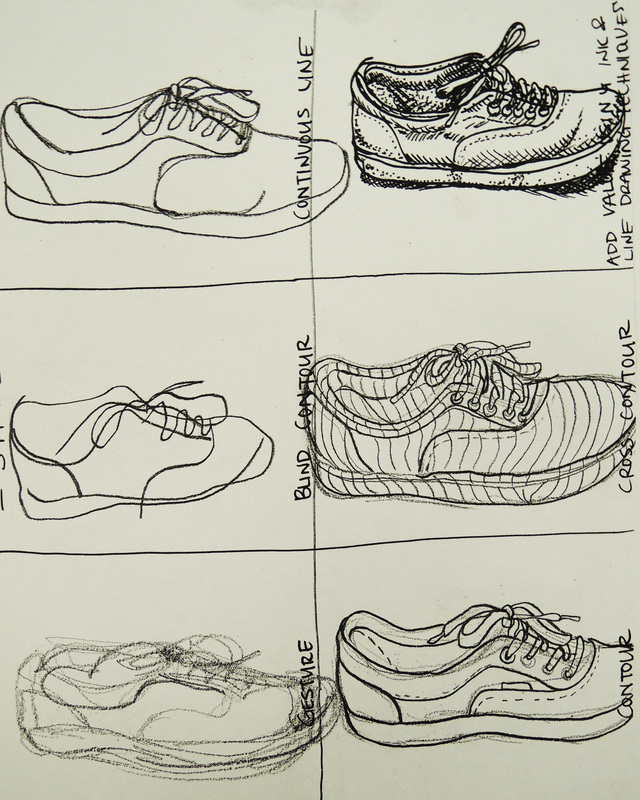
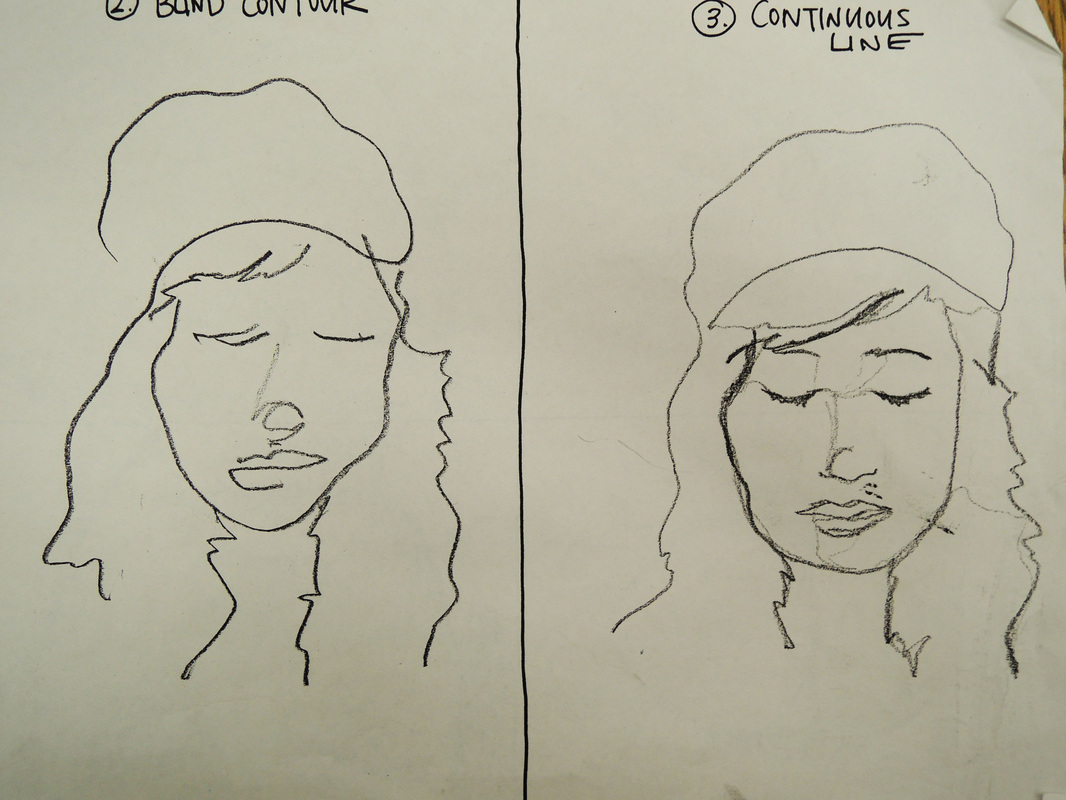
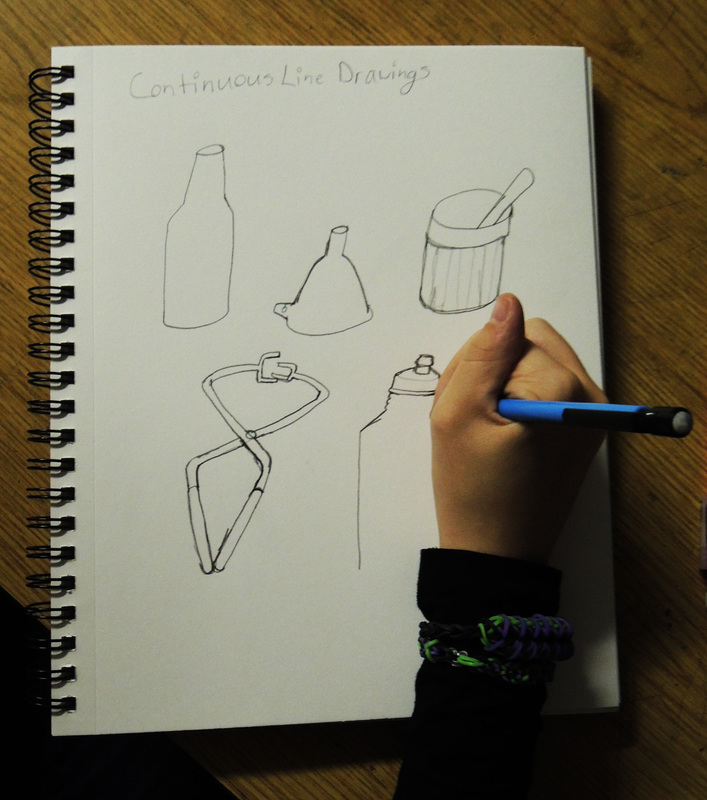
Students moved from perspective and creating values using ink to different techniques for drawing more accurately and drawing from life. Students looked at examples of gesture drawing and put those examples into action. I love doing gesture drawing with students because it's always a very active class that students really engage in. I ask students to volunteer to be the gesture models and I myself model examples of what good gesture drawing looks like and what incorrect gesture drawing looks like. "No stick figures, no crime scene cut-outs or gingerbread men outlines!" I show students how to keep their lines loose and flowing while they find the correct body positions in the student model. Each pose only lasts about 45-60 seconds. 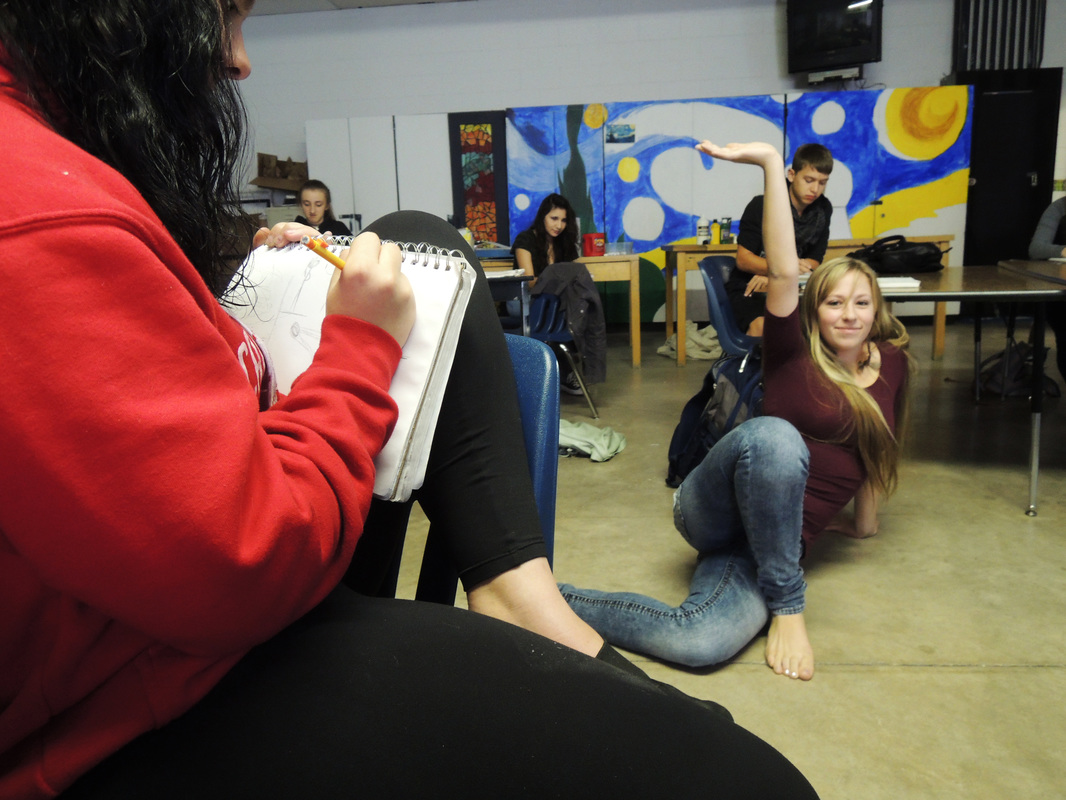 Next, students look at blind contour and continuous line drawings and try to draw from the still life on their table. Once students complete the challenge of blind contour (not looking at your paper) and continuous line (drawing without picking up your pencil from the paper), students move on to contour line drawings and cross-contour drawings of the still life on their paper. The fast paced exercises and the longer contour exercises were split into separate class periods to keep students engaged and also to gain confidence the more they worked with these drawing skills.
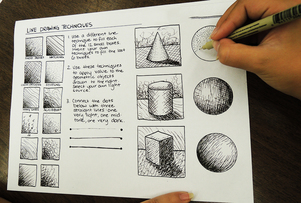
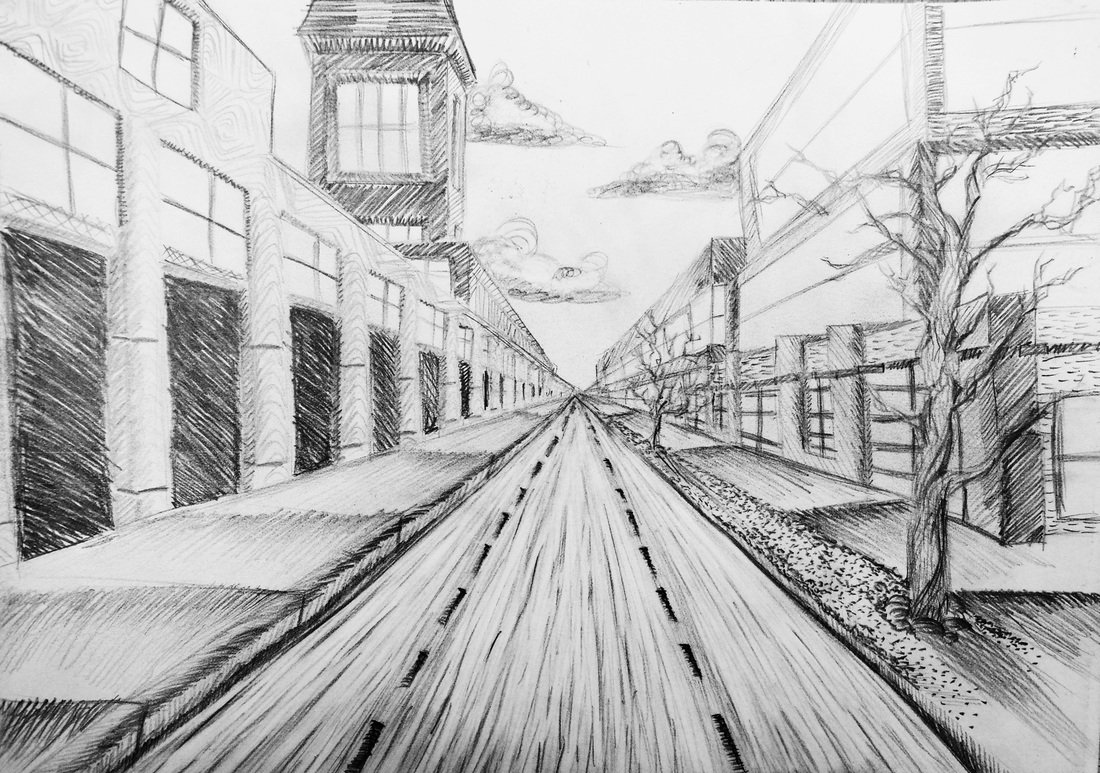
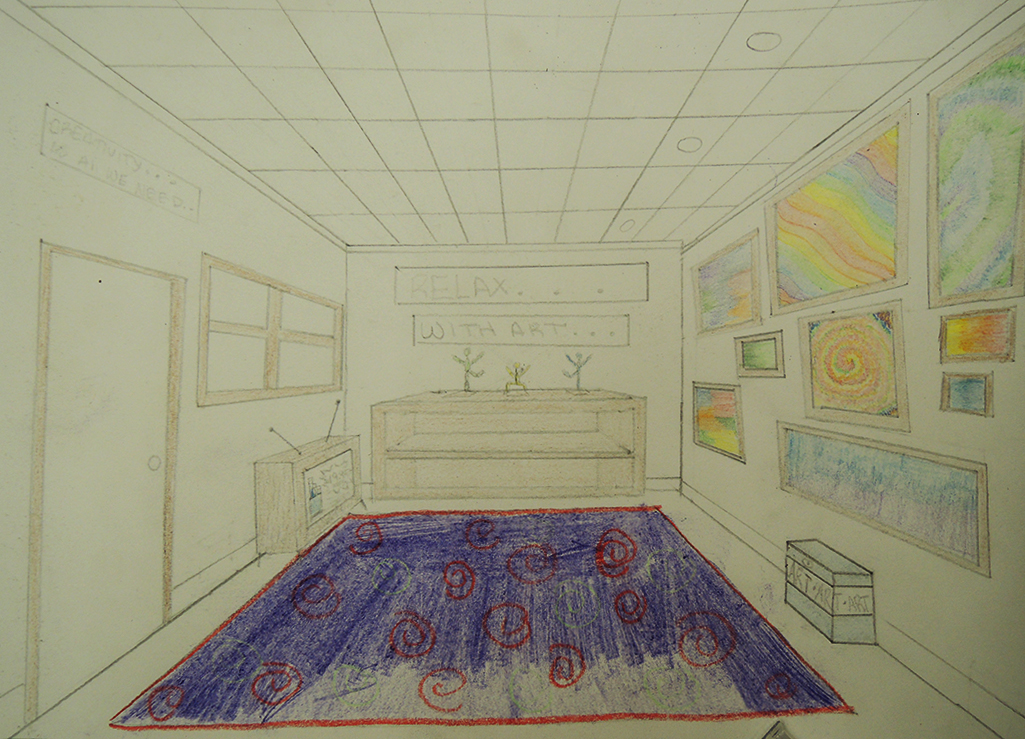
Students were introduced to ink through the experimentation with micron pens. Students were given multiple exercises to work with pen, including bringing in their knowledge from the previous perspective assignments. The goal is that students are building off of all the skills, techniques and concepts that they are working with throughout the entire course. Now, instead of using pencil to apply values, students are learning different techniques to apply value using pen and ink textures. Students are also including these values and textures in their perspective drawings. Whichever perspective students chose in their previous sketch, they then had to draw the same space from a different perspective and apply value using ink.
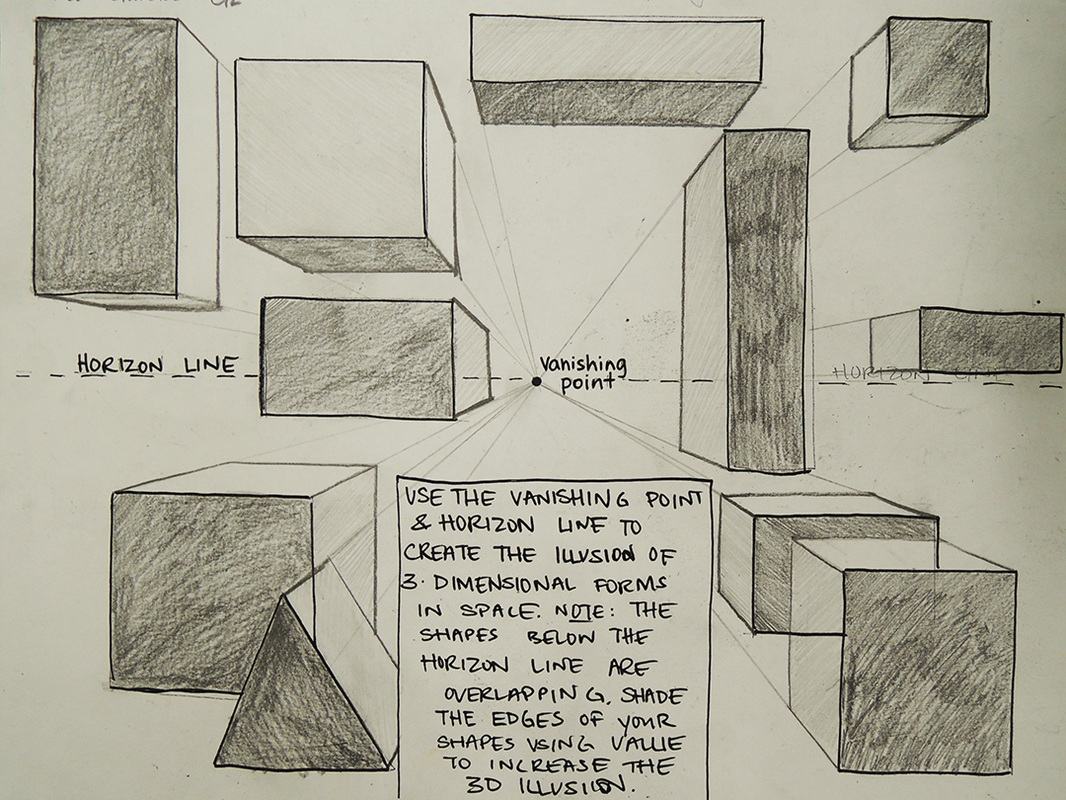
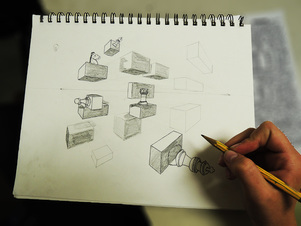
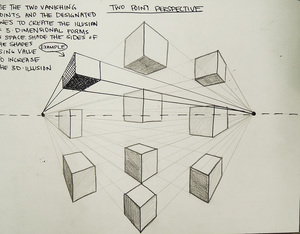
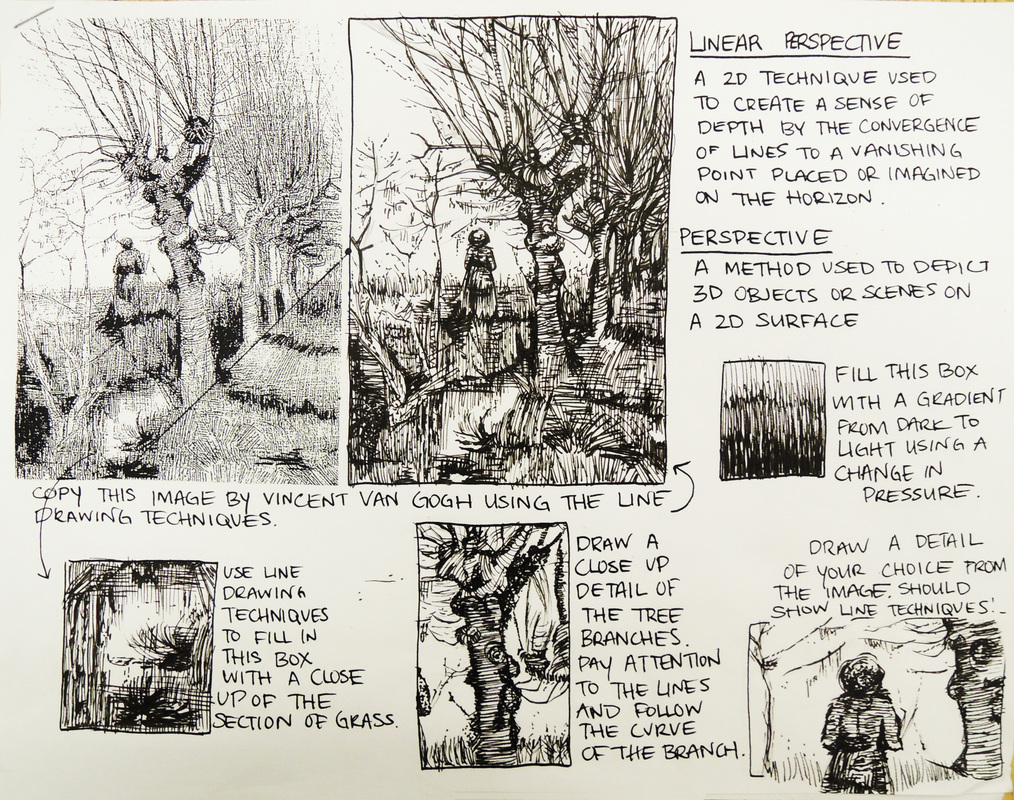 For some students, the idea of perspective is a review and for others it is their first time learning this concept. I like to quickly review the basics of perspective and build up from that point. (Pun intended!) Students define "vanishing point" and "horizon line" and complete various worksheets to practice using these perspective ideas. Students first completed worksheets in both one and two point perspective, but focusing on basic shapes only and adding in a light source to apply different values to each side of the shape. Students then applied their perspective ideas to a sketchbook drawing of their choice. Students drew a real or imaginary space of their choice in either a one or two point perspective...little did they know that they would be completing the perspective they did not choose later on. Some more advanced students who had worked with perspective before went on to try three point perspective and optical illusion sketches.
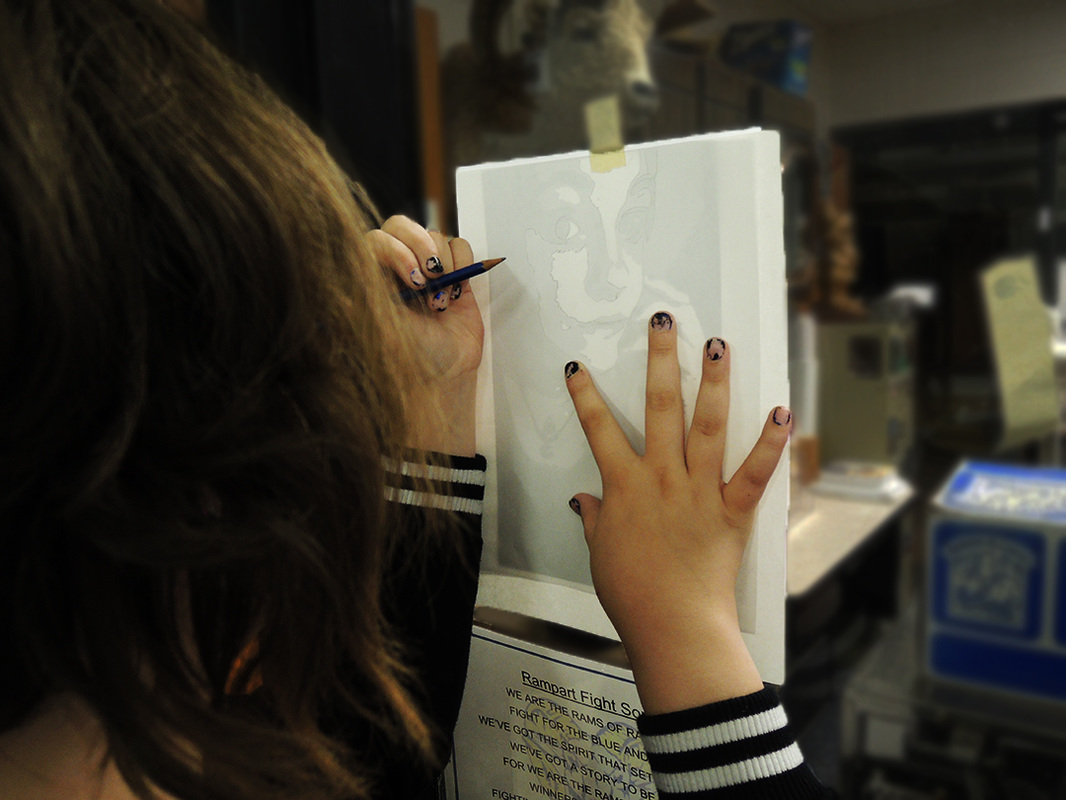
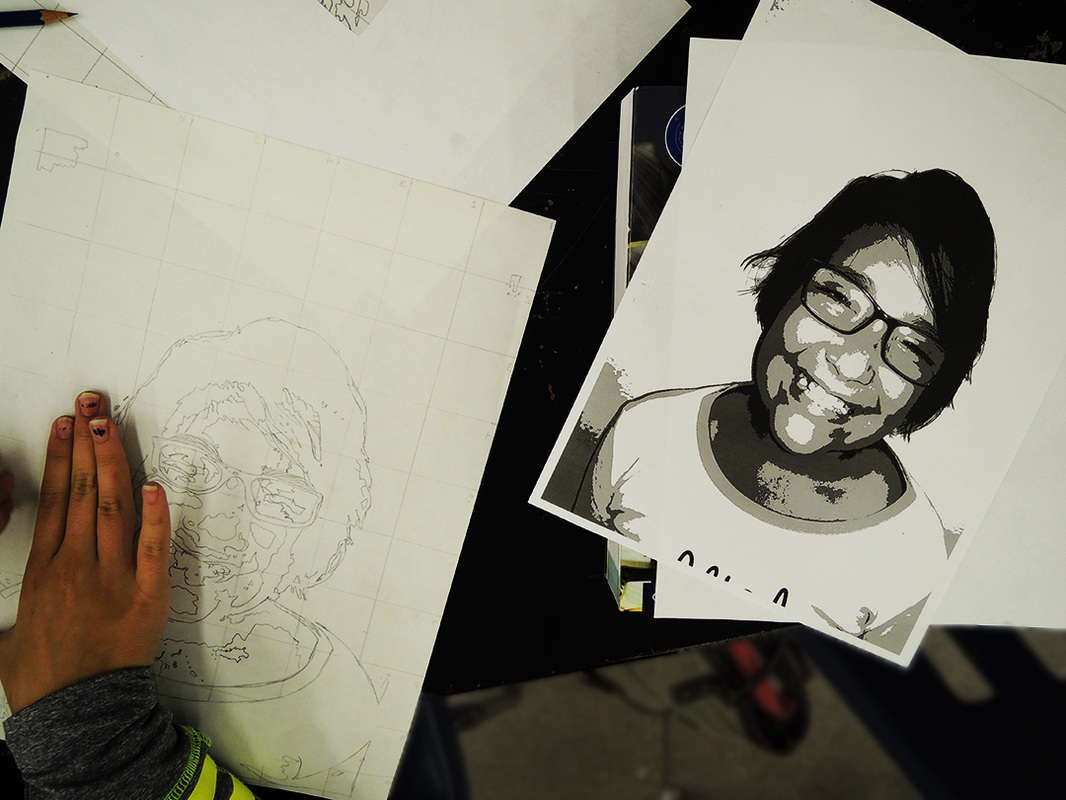
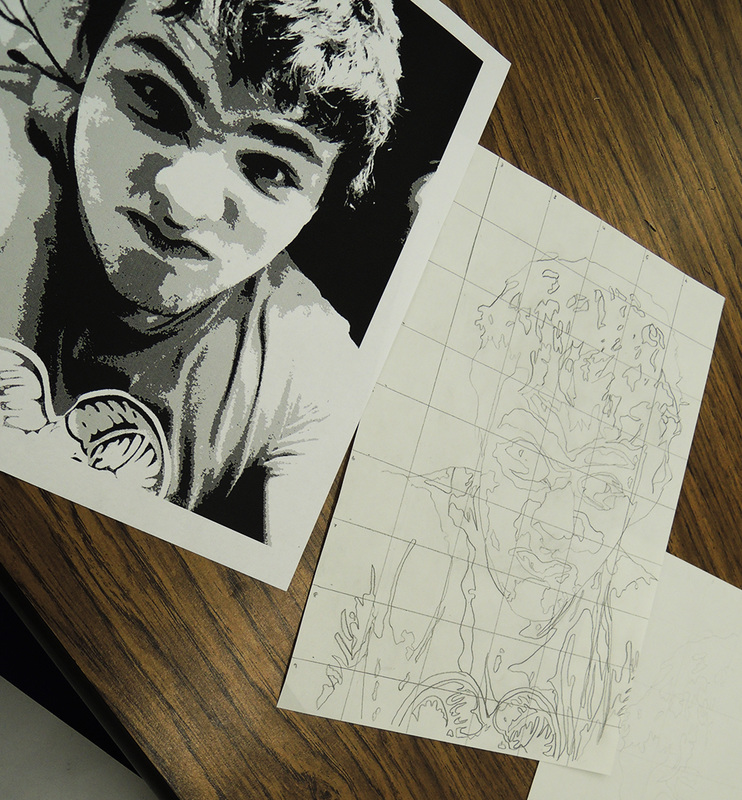
Students are working diligently to recreate a portrait using words to create values. Students first chose a picture they would like to use for their project. The photo was edited in Photoshop to make it easier for students to break down individual values. Student's then traced a basic outline of their photos and drew a 1.25 in. grid over the line drawing.
Students then used a larger piece of paper and increased their grid to 1.50 inches. By isolating each box on their smaller paper, students began to create a larger version of their line drawing. Once their larger line drawing was completed, students chose a word they felt best represented the person in their portrait. Students began to repeatedly write that word until they had the correct value in each section of their drawing. It's a work in progress!
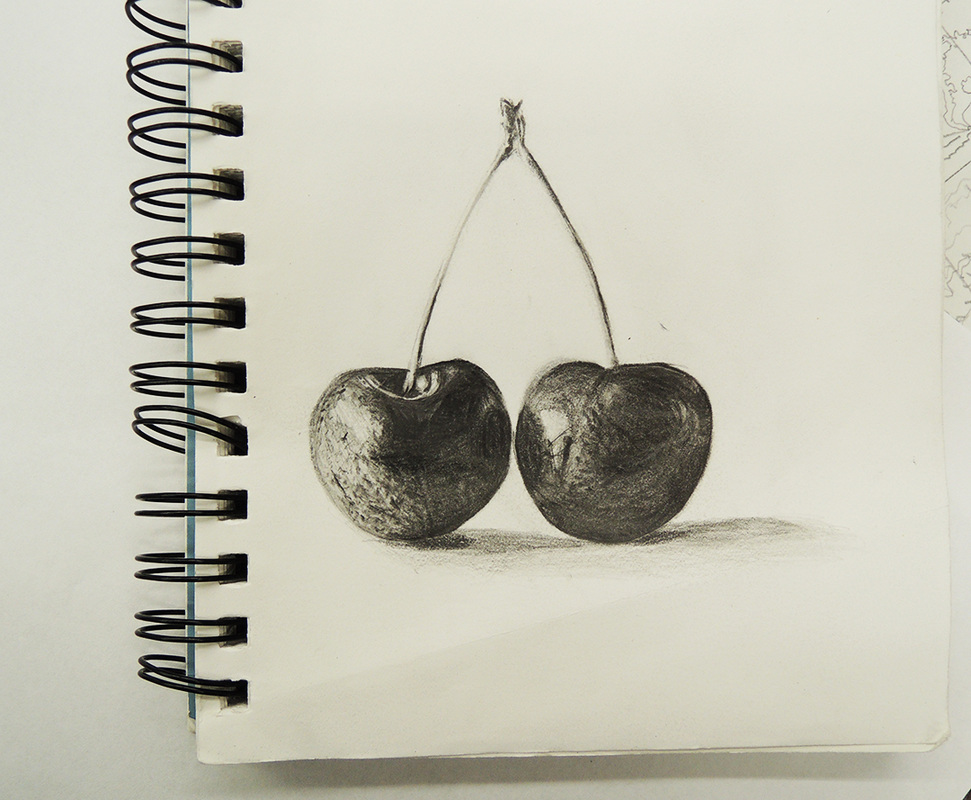
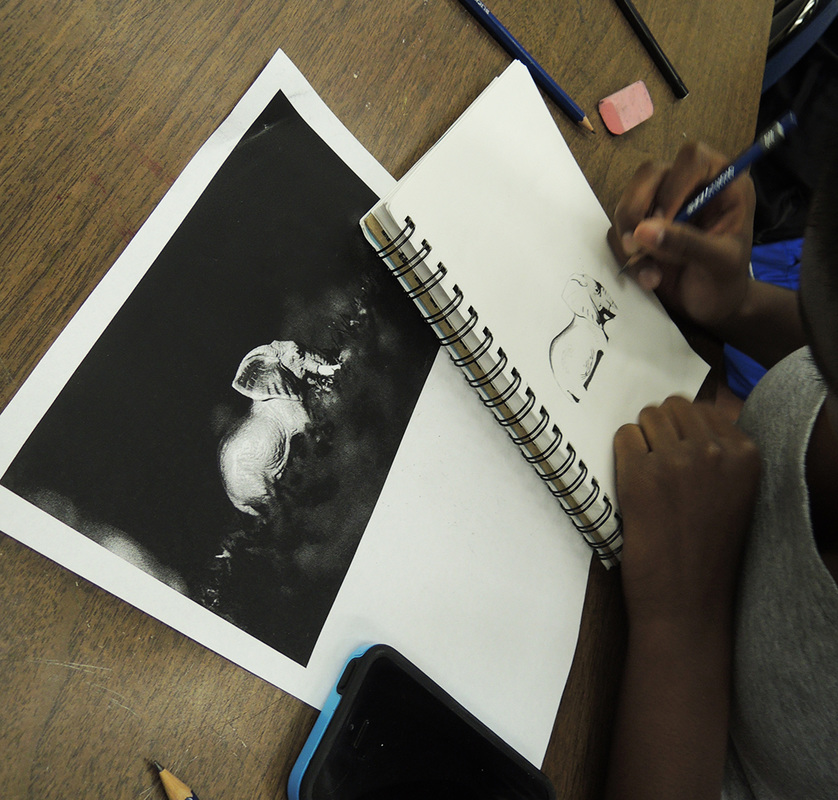
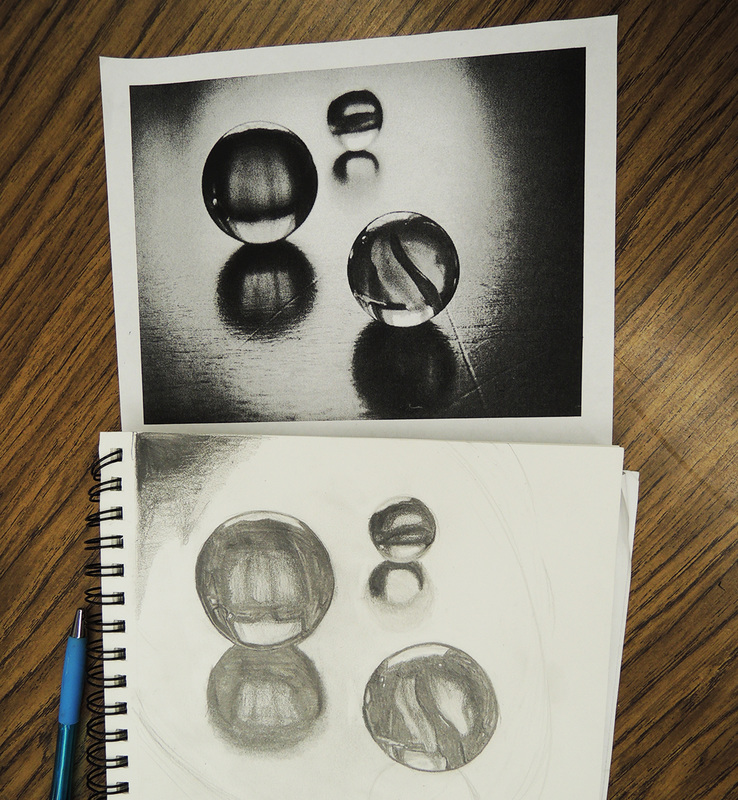
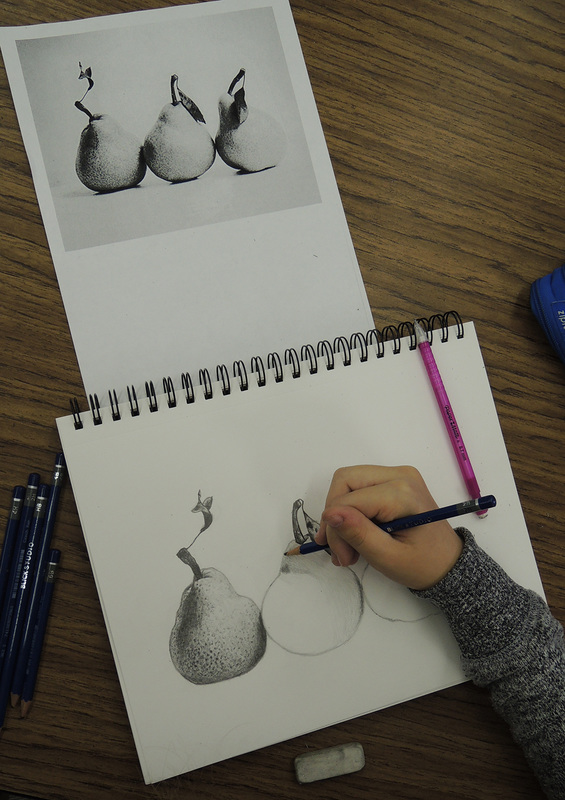
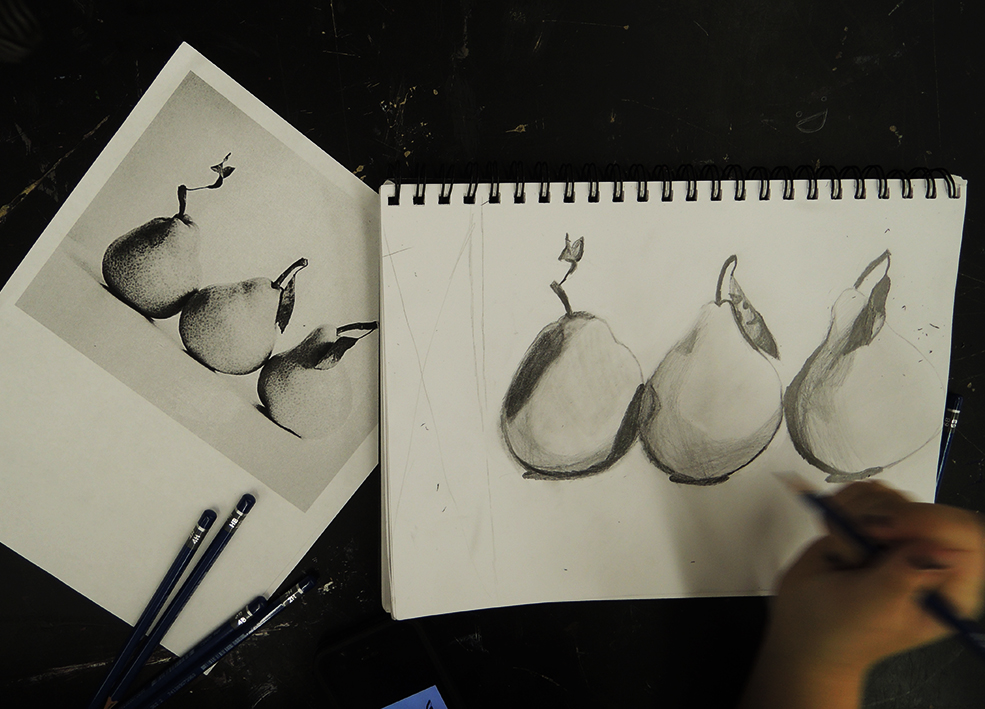
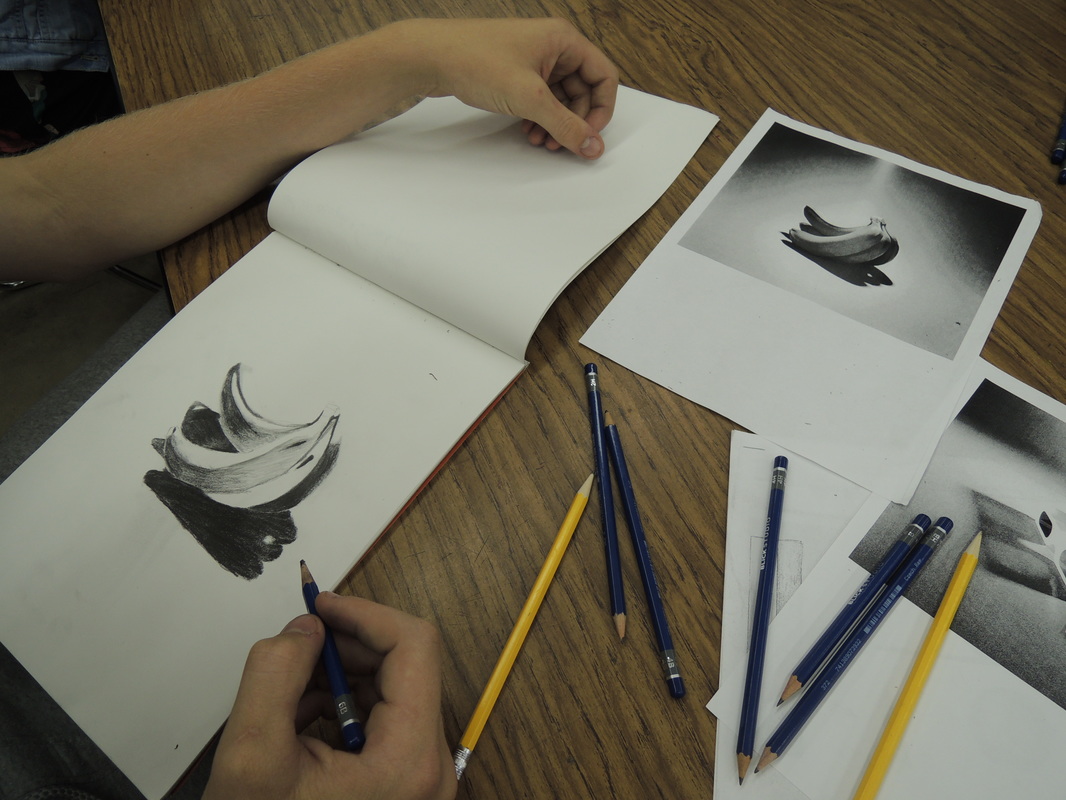
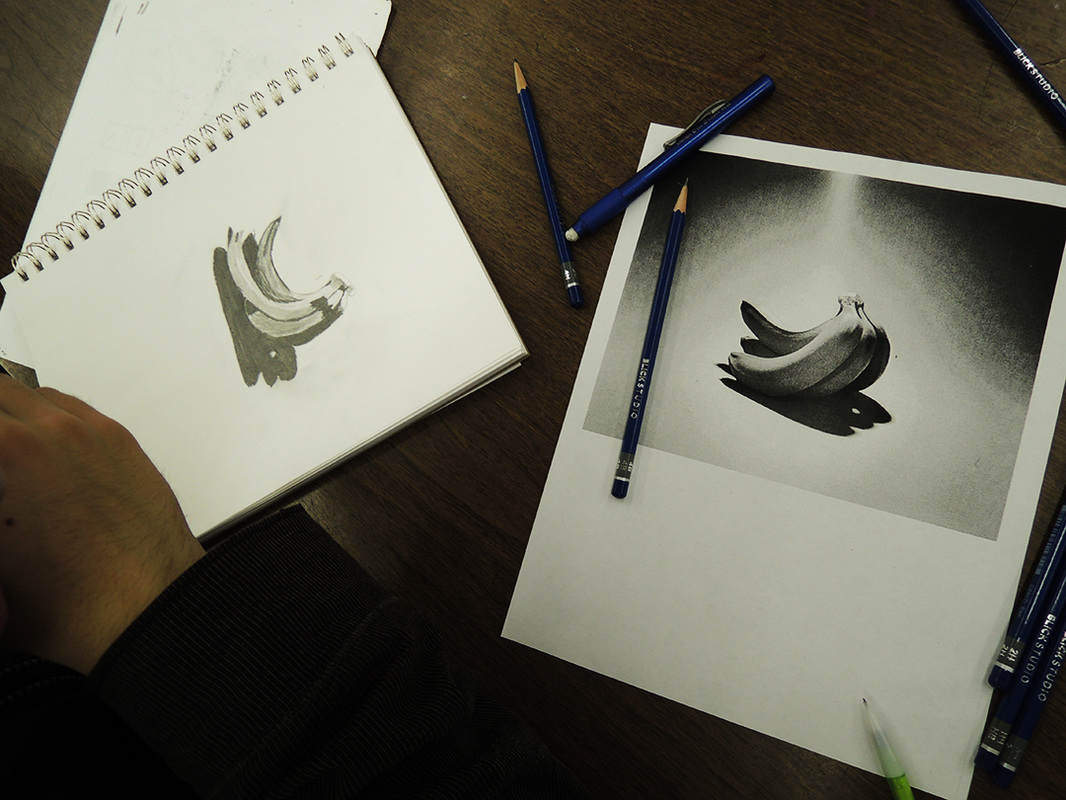
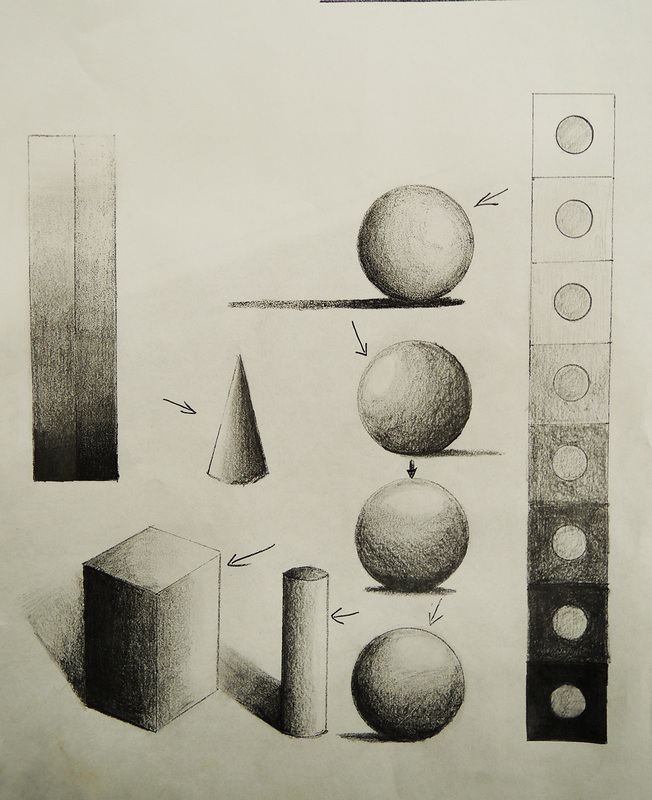
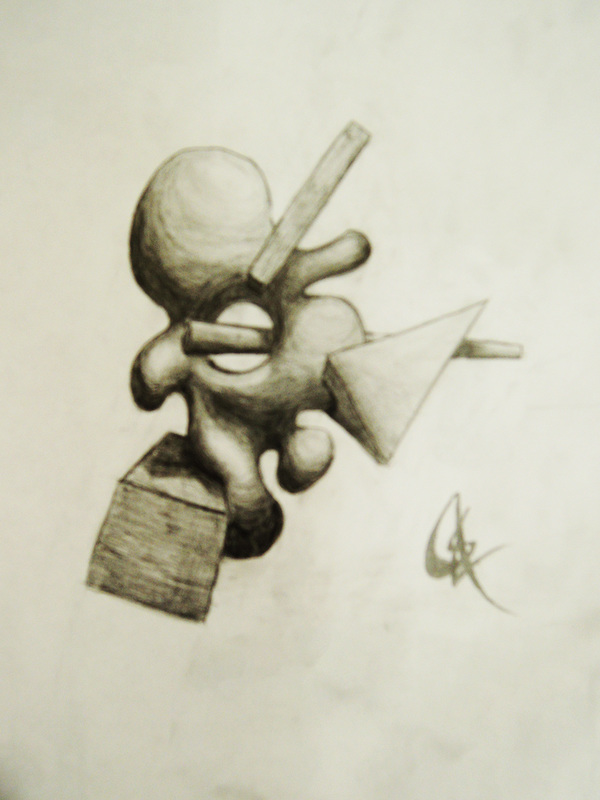
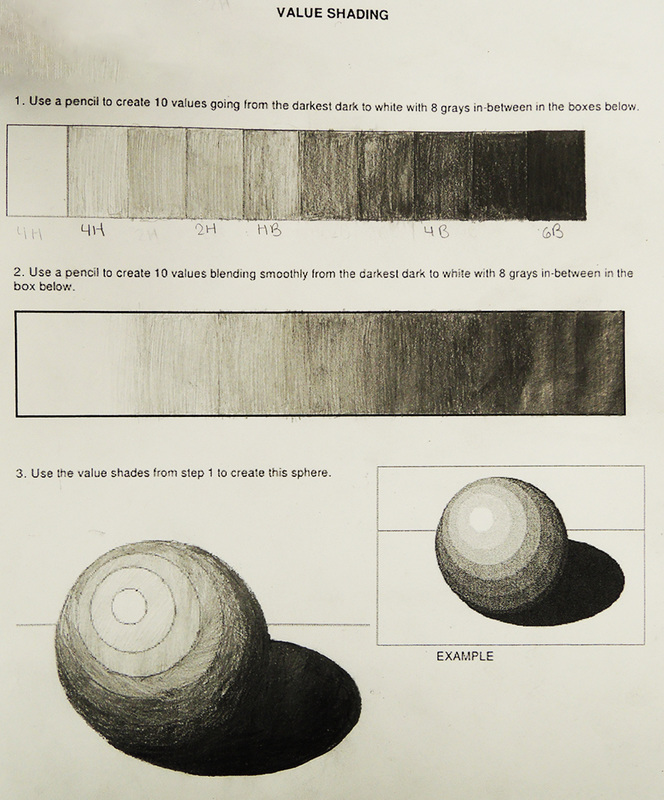
Students used reference images from the web and tried to copy the images in their sketchbooks. This exercise was meant to show students the difference between LINE and VALUE. In this exercise, they would use VALUE to define the edges of a shape, rather than line. Students were asked to include the entire range of values in their drawings and to use the drawing pencils when creating those values. Focusing on the Elements of Art, students in Art I began with Value. Students were not given drawing pencils when completing the first worksheet, instead, they did their best to create the full range of values using their standard HB pencils. Students focused on how changing the direction of a light source will change the values of light and dark on a three-dimensional object. Students were also able to practice relative values and how surrounding the same value with darker or lighter values will change the relative value perceived by the viewer. More advanced students were challenged to create an organic-geometric hybrid shape and add values to make it look three-dimensional.
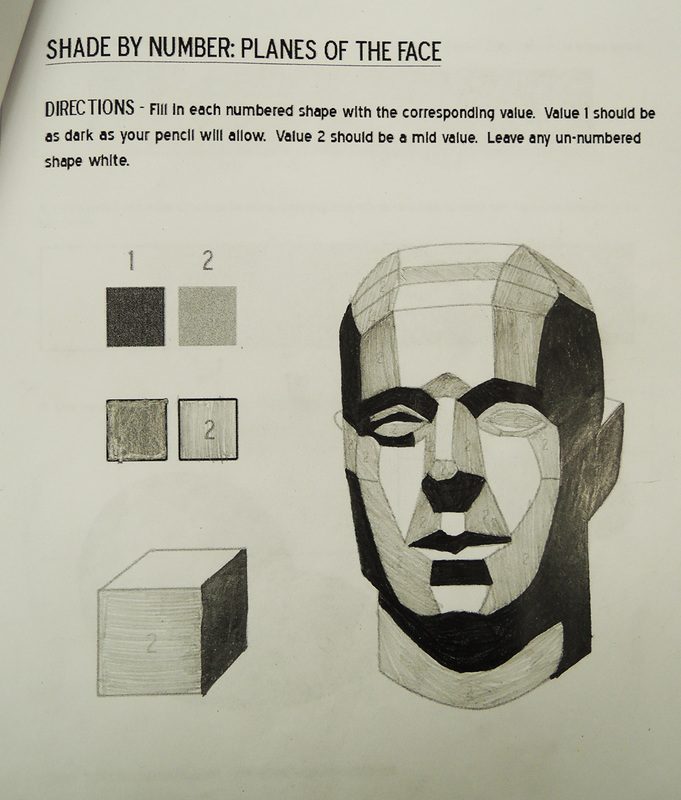
Students then looked at different types of drawing pencils and soft vs. hard graphite. Students completed two worksheets using the drawing pencils, again practicing the sphere and also how value changes on parts of the human face. 
|
Archives
December 2015
Categories |


 RSS Feed
